
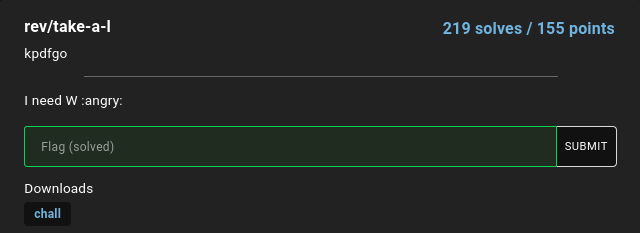
TJCTF 2022 – rev/take-a-l
A single binary program that asks you what the flag is… What is it?
Prompt
Solution
File type identification
The provided file can be fetched from here. Knowing that it’s a reversing challenge, it’s probably some program, but we can verify it just in case. After downloading the file, we can identify it using the file command, like so:
$ file chall
chall: ELF 64-bit LSB shared object, x86-64, version 1 (SYSV), dynamically linked, interpreter /lib64/ld-linux-x86-64.so.2, BuildID[sha1]=0a430c90fd654e6d622635ea25e067587fc36161, for GNU/Linux 3.2.0, not stripped
The output tells us that it is an ELF file, a very common file format for executable binary programs. Knowing that, I gave it the executable permission and ran it.
NOTE: This may be a risky behavior to just execute a program downloaded from the internet, especially if it’s an unknown/risky source. Do this at your own risk. However, I know that I downloaded it from the CTF page directly and I don’t expect there to be malicious behaviors. It’s also recommended to have a properly sandboxed instance for purposes like these (CTFs, reversing malware, etc).
$ chmod +x chall
$ ./chall
What's your flag?
hello
L
$
As we can see, the program prompts us for the flags, and then it just exits.
Time to fire up Ghidra…
Ghidra
Introduction
If you’re familiar with what Ghidra does (not this one), or at least you know what it is, you may skip to the next section. I guess if you already know how to use Ghidra well, you wouldn’t be here reading this…?
Well, if you haven’t heard of Ghidra, Ghidra is a nice software reverse engineering tool/framework, created and maintained by the National Security Agency (NSA) of the United States. It was originally written as an internal tool, but it was released to the public and open sourced in 2019.12
Before that, the preferred choice of tool for most reverse engineers was IDA Pro, which I really liked. However, compared to IDA Pro, which has very expensive licensing options, Ghidra was free and, better yet, open-source, which meant that the community can expand on it.
Still, they each handle certain things better than the other. Some engineers use both tools at the same time sometimes.
Loading the program into Ghidra
After downloading and starting Ghidra, we see the main project window.
From here, we can create a new project and import a file.
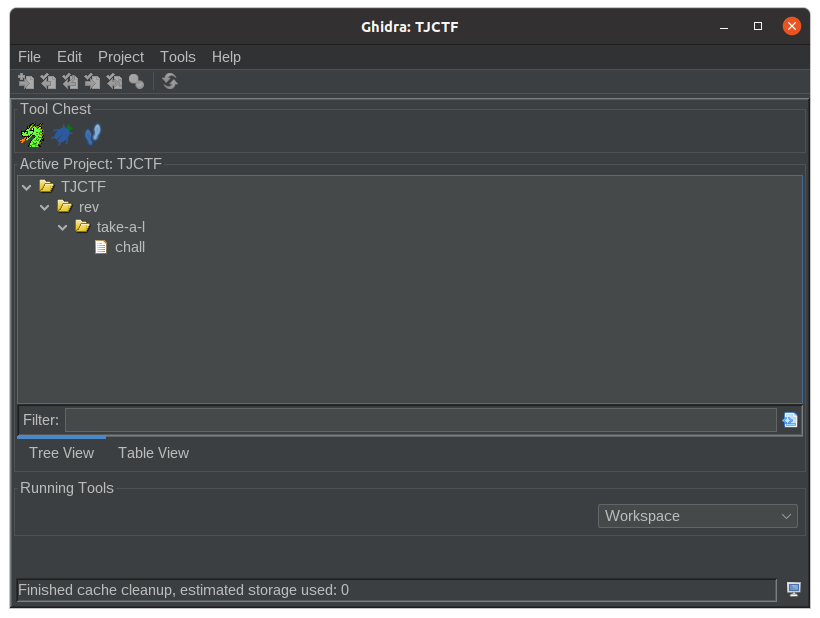
Here, I’ve actually created a few folders to organize the files, since I’ll be using the same project for the whole CTF. Double-clicking on the imported file launches the “CodeBrowser” tool on our file. This new window that pops us will be where we mainly spend our time reversing the program.
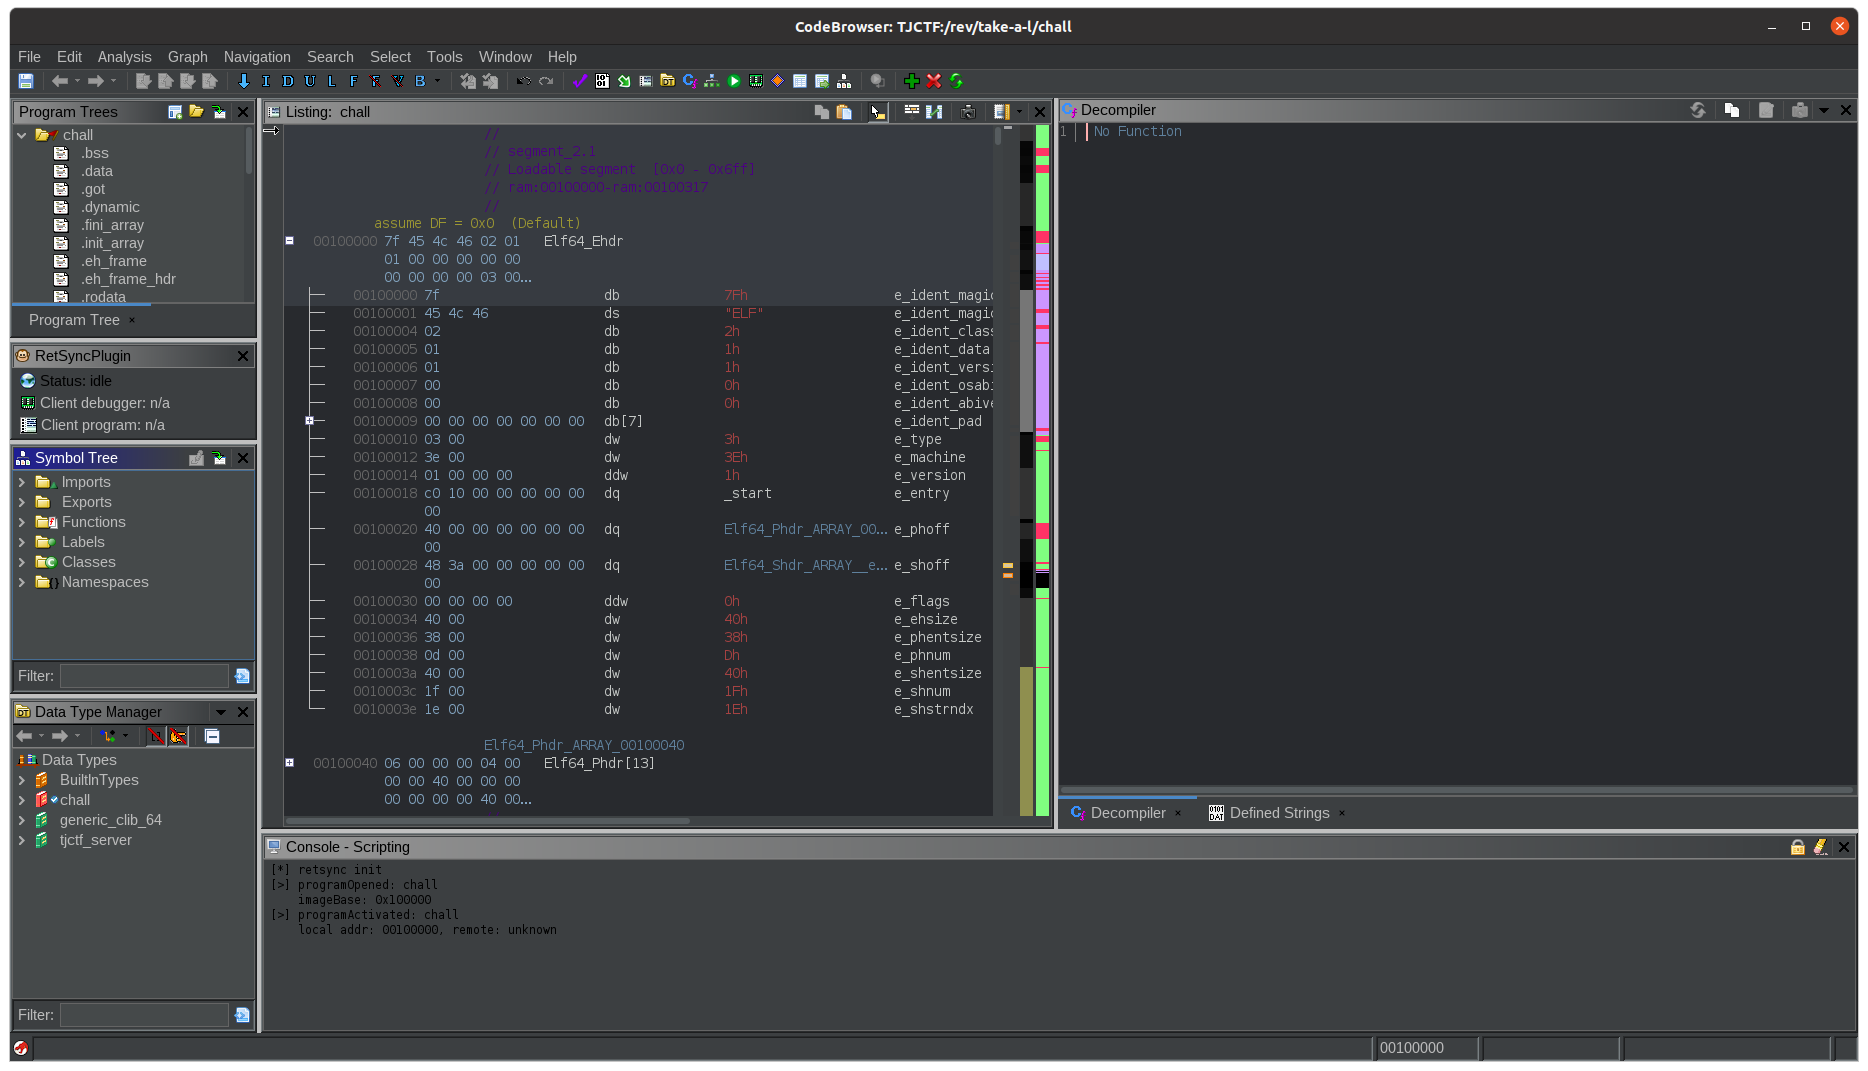
When the window pops us asking to run auto-analysis, just go ahead and click “Analyze”. The defaults are usually fine. This analysis automatically finds many of the functions that the program uses and does some other analysis that saves us a lot of manual labor.
Taking a look at main
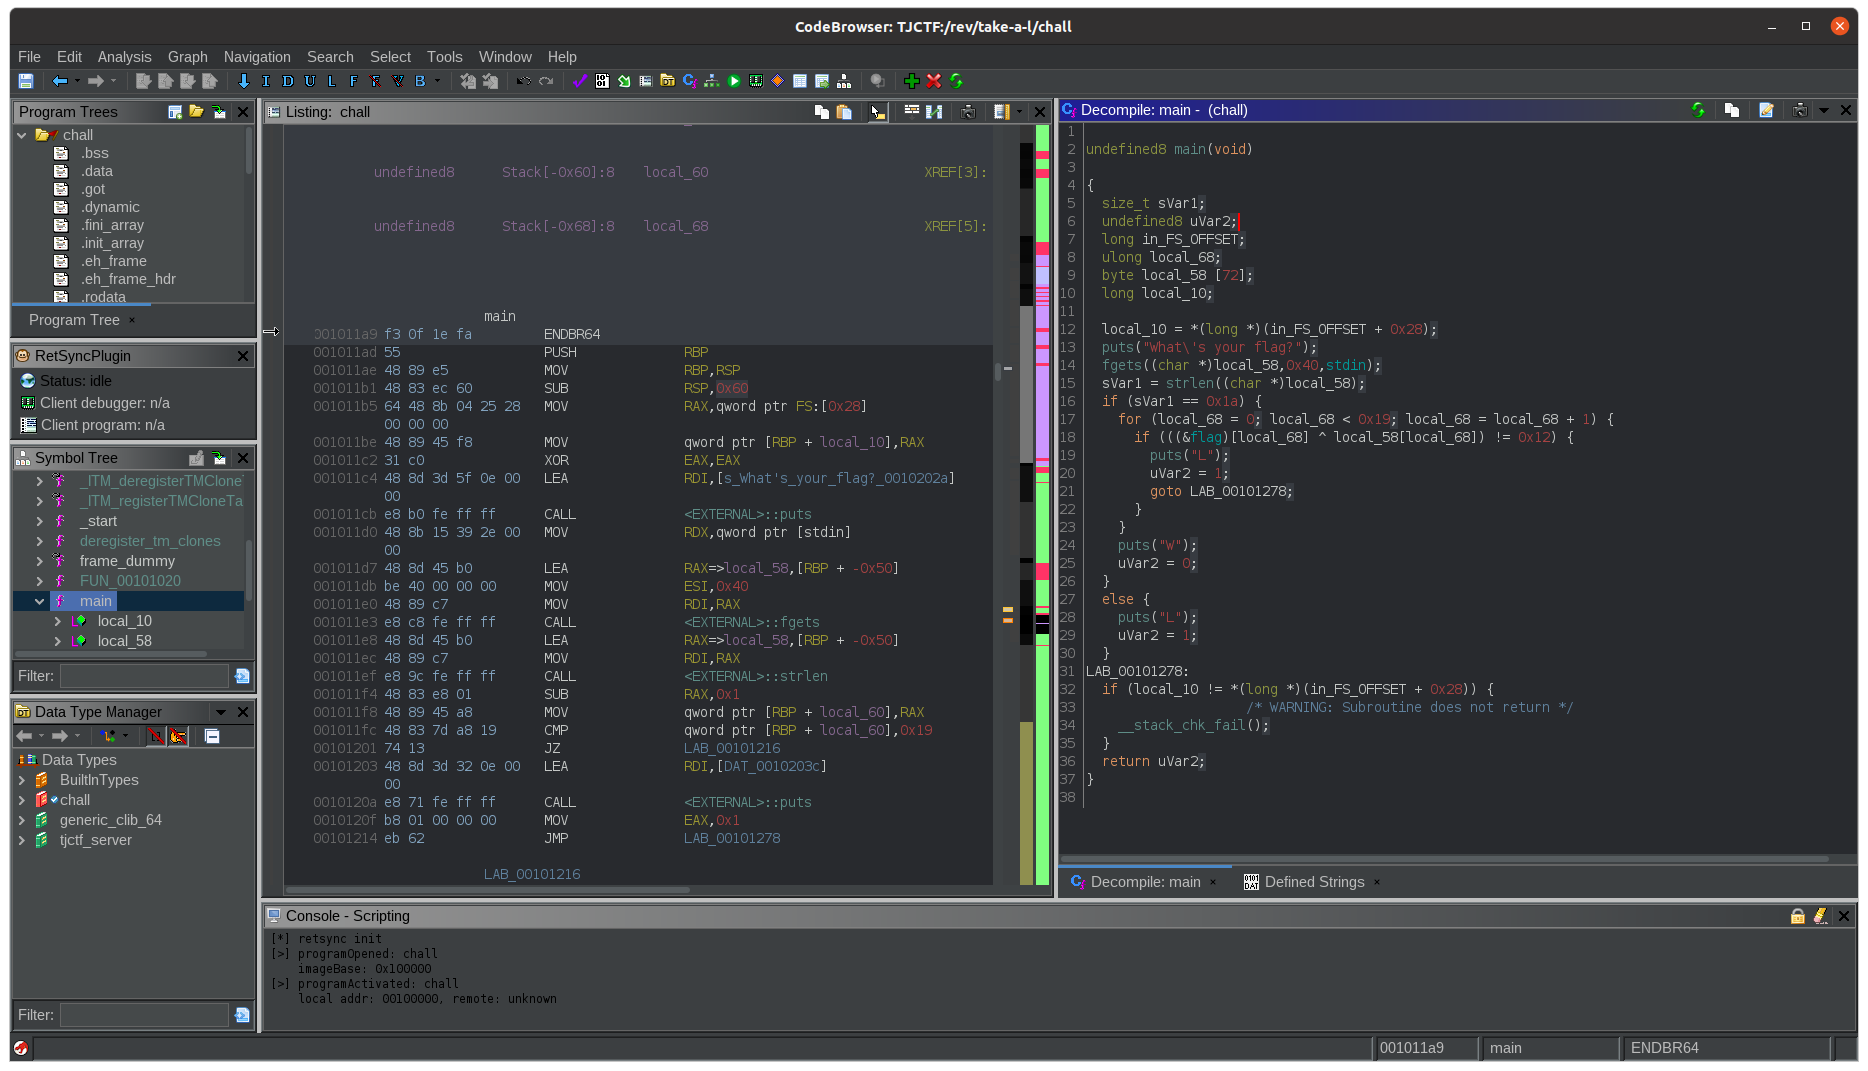
The challenge looks to be a simple program. After the initial auto analysis has run, we can take a look at the main() function.
Now, this is the part where we’ll need some knowledge and a good understanding of how a computer works, down at the machine level (or, at least a good understanding of C).
The center/left shows us the assembly listing. This is the disassembled instructions from the raw binary, which can also be seen in blue, to the left of the assembly instructions. On the right is Ghidra’s attempt at decompiling the assembly back to C.
Reversing
Take a look at the instructions (or the C code, if you’re not too comfortable with assebly). We see that the general flow was reconstructed correctly, but it assigned automatically generated names to the variables based on its location on the stack and guessed their types.
As we go through the process of reverse engineering and understanding how the program works, we can rename and retype the variables.
I’ve had my pass at analyzing and renaming the variables for better readability. Now the decompiled code looks something like this (I’ve also reformatted it a little bit manually):
int main(void) {
  int return_status;
  size_t bytes_read;
  long in_FS_OFFSET;
  ulong i;
  byte input_buffer [72];
  long stack_canary;

  stack_canary = *(long *)(in_FS_OFFSET + 0x28);
  puts("What\'s your flag?");
  fgets((char *)input_buffer,0x40,stdin);
  bytes_read = strlen((char *)input_buffer);
  if (bytes_read == 0x1a) {
    for (i = 0; i < 0x19; i = i + 1) {
      if (((&flag)[i] ^ input_buffer[i]) != 0x12) {
        puts("L");
        return_status = 1;
        goto return;
      }
    }
    puts("W");
    return_status = 0;
  } else {
    puts("L");
    return_status = 1;
  }
return:
  if (stack_canary != *(long *)(in_FS_OFFSET + 0x28)) {
                    /* WARNING: Subroutine does not return */
    __stack_chk_fail();
  }
  return return_status;
}
Summarized, the program does a couple of things:
- Print a prompt for us to input a flag
- Read up to 0x40 (64) bytes and store into the buffer
- Check if input was 0x1A (26) bytes long
- Perform XOR on each of the bytes with a defined constant string and check if each of the results equal 0x12 (18)
- If the checks above succeed, a “W” is printed and the program returns successfully (
return 0) - Otherwise, a “L” is printed and the program returns with a failure exit status (
return 1)
Finding the solution
We know that:
- The input (our flag) is total of 26 bytes, including the newline character – see fgets(3)
- Each of the bytes, XOR’d with some constant data in the binary, has to equal to 0x12.
We can also get the constant from Ghidra, which is fxqftiuuus\x7Fw`aaaaaaaaa'ao

Now that we know what we have to XOR with our input, let’s rearrange the math a little bit: constant_data[i] ^ our_input[i] == 0x12. Here’s a cool thing about XOR: XOR is a reversible operation. Better yet, you can reverse an XOR operation with the same key that the data was XOR’d with in the first place. In other words, if you XOR a data with the same key twice, you get the same original data back.
In other, other words: constant_data[i] ^ 0x12 == our_input[i].
We just have to XOR the binary string we found with 0x12 to get our flag!
This can be achieved with the following Python snippet:
encoded = b"fxqftiuuus\x7fw`aaaaaaaaa\'ao"
decoded = [chr(d ^ 18) for d in encoded]
print(''.join(decoded))
$ python3
Python 3.10.4+ (heads/3.10:36d42e7, May 15 2022, 00:49:33) [GCC 9.4.0] on linux
Type "help", "copyright", "credits" or "license" for more information.
>>> encoded = b"fxqftiuuus\x7fw`aaaaaaaaa\'ao"
>>> decoded = [chr(d ^ 18) for d in encoded]
>>> print(''.join(decoded))
tjctf{gggamersssssssss5s}
Flag
The flag is: tjctf{gggamersssssssss5s}